Allow Google Analytics to measure how I use the site to enhance functionality and service.

Allows us to show personalized advertisements based on your browsing behavior.

Share my activity data with cookies for targeted advertising.

Customize my ad experience by allowing cookies to personalize the ads I see.
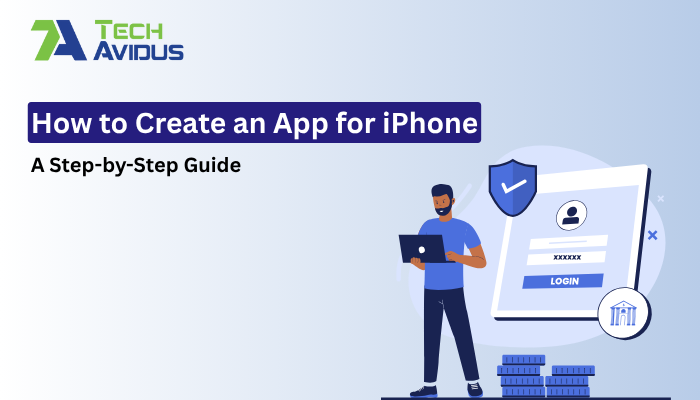
Are you interested in how to create an app for iPhone but don't know where to start? You've come to the right place! In this comprehensive guide, we'll walk you through the step-by-step process of how to make an iPhone app. By the end of this article, you'll have a clear understanding of what it takes to bring your app idea to life.
Before diving into the technical aspects of app development, it's crucial to have a solid grasp of your app idea. What problem does your app solve? Who is your target audience? What features will your app include? These are essential questions to answer before you begin development.
To create an iPhone app, you need to know your competition. Conduct thorough market research to identify similar apps in the App Store. Analyze their strengths and weaknesses. This information will help you refine your app's concept and make it stand out in a crowded marketplace.

1. Define Your App's Purpose
Clearly define the purpose of your app. What do you want users to achieve when they use it? Your app's purpose should align with your target audience's needs and desires.
2. Create a Wireframe
A wireframe is a visual representation of your app's user interface. It's a blueprint that outlines the layout and functionality of each screen. You can use wireframing tools like Sketch or Figma to create your wireframe.
3. Design the User Interface (UI)
When learning how to make an iPhone app, one crucial aspect to focus on is the UI design. The UI design is a critical aspect of creating an appealing iPhone app. Ensure that your app's design is user-friendly and visually appealing. Consider hiring a professional designer if you're not experienced in UI design.
4. Choose the Right Technology Stack
Select the technology stack that best suits your app's requirements. For iPhone app development, you'll typically use Swift or Objective-C as the programming language. You'll also need to choose a development environment like Xcode.
Now, let's get into the nitty-gritty of how to create an app for iPhone. This is where your coding skills come into play. Here are the steps involved in the development phase:
1. Set Up Xcode
Start by downloading and installing Xcode, Apple's integrated development environment (IDE). It's essential for iOS app development.
2. Write Code
Using Swift or Objective-C, start writing the code for your app. Implement the features outlined in your wireframe and UI design. Make sure to follow Apple's coding guidelines and best practices.
3. Test Your App
Regularly test your app on a real iPhone device or in the iOS simulator. Identify and fix any bugs or issues as you go along. Testing is an ongoing process throughout development.
4. Optimize for Performance
Optimize your app's performance to ensure it runs smoothly on various iPhone models. Pay attention to factors like load times, memory usage, and responsiveness.
Thorough testing is crucial to delivering a polished and bug-free app. Here's what you should focus on during this phase:
1. Functional Testing
Test all the app's features to ensure they work as intended. Make sure there are no crashes or unexpected behavior.
2. Usability Testing
Gather feedback from potential users or beta testers. This feedback can help you make usability improvements.
3. Performance Testing
Check your app's performance on different devices and under various conditions. Address any performance bottlenecks.
Once your app is complete and thoroughly tested, it's time to submit it to the App Store. Here's how you can do it:
1. Create a Developer Account
Before you can submit an app to the App Store, you need to create a developer account on the Apple Developer website. Follow these steps:
2. Prepare App Store Assets
Before submitting your app, you'll need to gather and prepare various assets that will be displayed on the App Store listing. These assets include:
3. App Store Connect
App Store Connect is a web-based platform provided by Apple that allows you to manage your app submissions, monitor app performance, and access sales and financial reports. Here's what you need to do in App Store Connect:

4. App Review
Apple conducts a thorough review of all apps submitted to the App Store to ensure they meet the company's guidelines and standards. The review process includes checks for content, functionality, and compliance with Apple's policies. Here are some key points to consider:
5. Marketing and Promotion
While your app is undergoing review, it's an excellent time to plan your marketing and promotion strategy. Consider the following:
6. App Approval and Release
Once your app passes the review process, you'll receive a notification of its approval. At this point, you can set a release date or choose to release it immediately. Be prepared for the following:
7. Post-Launch Marketing
After your app is live on the App Store, it's essential to maintain a strong marketing presence:

Bhavesh Ladva is a seasoned AI Developer with over 10 years of experience in machine learning, deep learning, and NLP. He has built scalable AI solutions across industries, leveraging technologies like Python, TensorFlow, and cloud platforms. Bhavesh is passionate about ethical AI and constantly explores innovative ways to solve real-world problems.
Our Top 1% Tech Talent integrates cutting-edge AI technologies to craft intelligent, scalable, and future-ready solutions.
All Rights Reserved. Copyright © 2026 | TechAvidus